It is difficult to imagine that online communication has literally become an integral part of the life of every modern person in just a few years. Distance education, courses, business meetings with clients and even consultations with doctors are now available literally from anywhere in the world due to the capabilities of video conferencing services.
The active use of video conferencing has a positive effect on the rapid development of the functionality of VKS services. Now it is not enough to just hold an online meeting, many users also need effective tools for recording and storing such meetings in order to be able to send the recording to another person or re-listen to the conversation to clarify details.
In this article, we will tell you what methods there are for recording video conferences and analyze tools and programs for various devices that are suitable for both personal use and business tasks.

Why you need to record video conferences
This helps to save information from a meeting to return to it later. If a colleague missed a meeting, you can send him a file in audio or video format with the full content. This feature also helps to reduce the time of the meeting - instead of recording all the nuances of the conversation in real time, you can listen to the audio file.
In addition, this feature is useful for various educational projects that conduct webinars and online lessons. Lecturers and teachers can reuse recorded materials for other groups, and students can review lessons at a convenient time.
In a corporate environment, recording an online meeting reduces the risk of discrepancies. If disputes arise after the meeting about the decisions made, the audio file from the general meeting serves as an objective source of information.
Legal and financial organizations can use the recording of negotiations as a means of confirming verbal agreements. This reduces the likelihood of misunderstandings and increases the level of responsibility of the participants.
The function is also useful when conducting interviews, briefings and presentations, which is used in various fields.

Methods for recording online meetings from a computer
Many video calling platforms already have built-in recording functions. For example, in Zoom, Google Meet, Microsoft Teams, or in Russian ones — Yandex.Telemost, eXpress, Trunkof and others.
This is the simplest and most convenient way in the context of corporate communication:
- The recording is performed within the program itself — you do not need to install additional software.
- The file is saved either locally on the computer or in the cloud.
- You can set up restrictions and permissions for conference participants to enable recording.
- Conference participants are aware of the recording and can access the file with the organizer's permission. It can also serve as evidence of certain agreements with clients or partners.
Another way is to use third-party programs, also called screen recorders or screencasts. They record everything that happens on the computer screen and save these recordings. Some of the programs provide the ability to simultaneously record from the screen and webcam, broadcast, add text, effects and other features. Such services will be useful for creating training materials and conducting presentations or webinars.
Windows and macOS operating systems also have built-in screen recording tools that do not require installing additional software.
- Windows has a utility called Xbox Game Bar, which is suitable for recording the screen of applications. You need to open the Xbox Game Bar on your PC and use the keyboard shortcut Win + G. Then click the "Record" button.
- On macOS, you can use the QuickTime Player application, open it through the "Finder" or using Spotlight search. In the "File" menu, select "New Screen Recording", configure the settings and click the "Record" button.
While the built-in features in Windows and macOS are convenient and easy to use, they have some limitations in sound and functionality.

Best Screen Capture Software with Sound for Windows
Let's get back to screencast programs that can be installed on Windows and record the computer screen along with the accompanying sound.
We suggest trying the following solutions:
OBS Studio. Suitable for free video recording and live broadcasting. Quite advanced functionality, there is support for various formats and flexible recording settings.
Bandicam. Paid program. Among the advantages: high performance, simple interface, the ability to add a webcam, high video quality. Disadvantages: the free version has a watermark on the video, the recording time is limited.
Movavi Screen Recorder. A comprehensive solution that contains tools for screen recording, video editing and file conversion. By default, the program will record the full screen, so when you first start it, you need to select the capture area in the control panel. Many features appear when you purchase a license, and in the free version, the functionality will be limited.
Camtasia. Paid professional program for screen recording and video editing. There is a built-in video editor, extensive animation and effects capabilities, support for various formats. Disadvantages: high cost.
Snagit. Easy-to-use screen capture and screenshot program. Pros: built-in image editor, Cons: limited video editing features on the free plan.
FlashBack Express. Free screen recording program with the ability to add comments and annotations. No watermarks, unlimited recording time, can record from a webcam.
Built-in recording features of the eXpress platform on PC
eXpress is a Russian corporate communications platform that combines video conferencing, instant messaging, email, and SmartApp applications. For corporate use, eXpress offers advanced calling and video conferencing capabilities for up to 256 participants, including recording, hand raising, and various video and audio settings.
To record a video conference on the eXpress platform, follow these steps.
Step 1
Launch the eXpress application on your PC or in a browser. In the left panel, go to "Calls and Conferences" and select:
- "Start" to create a new conference
- "Schedule" to create a scheduled conference
- Or join an existing conference from the meeting list. In this case, you need to have conference administrator rights to enable recording.

Step 2
In the upper right corner of the conference window, click the additional settings button and select the "Start recording" option from the drop-down menu. Once the recording starts, all conference participants will be notified.

Step 3
To stop recording, click the three dots icon again and select "Stop recording". It will also stop automatically if you end the conference.
Step 4
The file will be available via a link in the conference chat and in the chat with the Recordings Bot. To open the conference chat, right-click on the finished conference in the application on the PC.

The recording will be stored on the server for a limited time (the server administrator can configure the storage period).
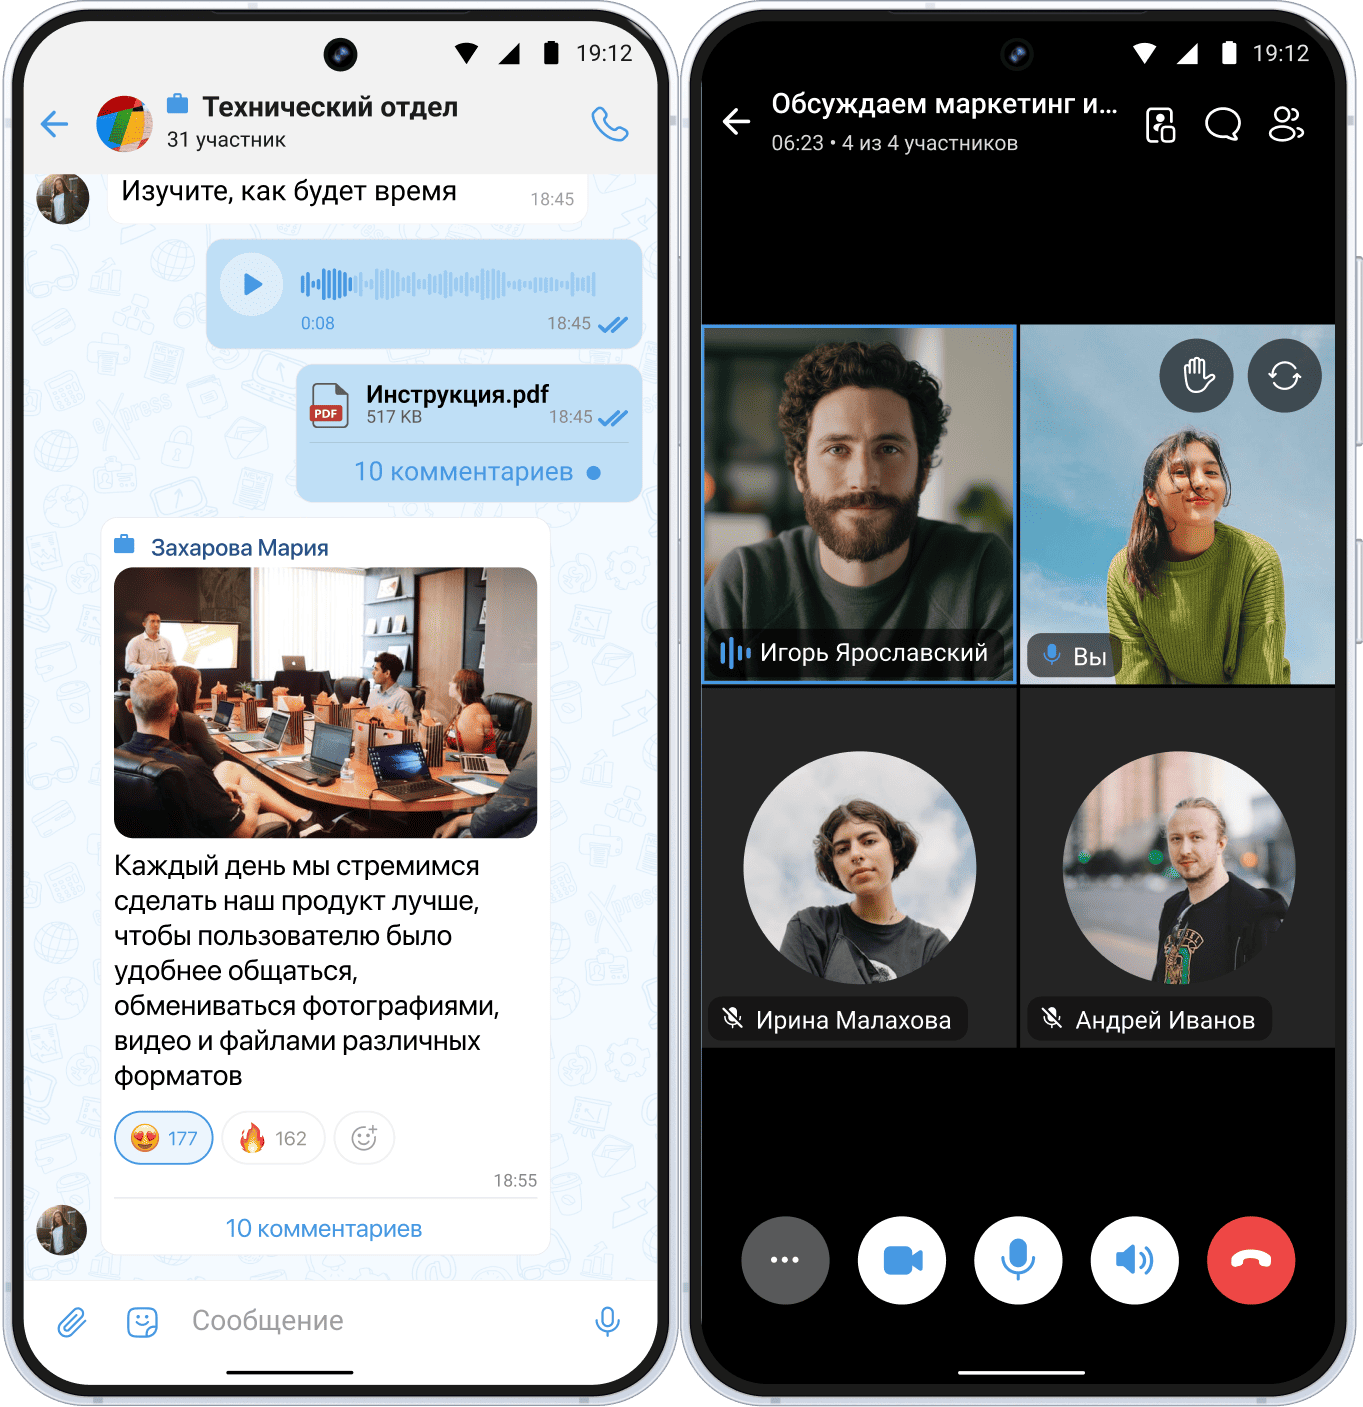
Recording eXpress conferences on mobile devices
The process of recording conferences from a PC and from mobile devices on the eXpress platform is the same, but has some differences in the interface. You can see them in the mockups below.

Screen Recording on iPhone: Built-in Functionality and Apps
The screen recording feature appeared on the iPhone with the release of iOS 11 in 2017. Before that, only third-party applications could be used. Now the iPhone has a convenient feature that is popular with users. With its help, you can easily record video from the screen, including system sounds and the microphone.
Let's look at two ways to record the screen: using the built-in iOS function and using third-party applications.
Built-in iPhone screen recording
- The first step is to add the recording button to the Control Center. To do this, open Settings → Control Center. Next, find Screen Recording and tap + to add it to quick settings.
- Start screen recording. To do this, open Control Center by swiping down from the upper-right corner on an iPhone with Face ID or up from the bottom edge on models with a Home button. Tap the Screen Recording button (circle icon). Recording will start in 3 seconds.
- To stop recording, tap the red bar at the top of the screen and select Stop. The video will be saved in the gallery.

Screen recording using third-party applications
If the built-in functionality on the iPhone is not enough, you can use special applications, for example:
- Record It! allows you to record your screen, then edit the video and add comments.
- DU Recorder supports streaming, text overlay, and stickers.
- Screen Recorder+ is suitable for creating tutorials with annotations.
You will need to install the application from the App Store and give permission to record the screen. You can use the recording function through the application itself or through the Control Center in the top menu. Once finished, save the video and, if necessary, edit it using the application's functions.
It is important to note that when using third-party applications, some features may only be available with a paid subscription. If you just need to record your screen, the built-in function on the iPhone will be enough.
Instead of a conclusion
You can record video conferences in different ways - each method has its pros and cons. If you use third-party programs, you will have to install and configure them, which sometimes fails at the most inopportune moment. And the security of storing recordings remains questionable. When participating in corporate meetings or webinars, it will be easier to use the capabilities of video conferencing programs.
The eXpress platform has all the necessary functions for conducting effective video conferences. Video recordings of meetings are automatically saved in a secure storage and are available to participants in the chatbot. You can connect to the service and record a meeting from any device.